Forms
€299.00*
Available in the Shopware Community Store!
Icon: Self Hosted / Cloud
Icon: Shopware Version (5 / 6)
Kompatibilität: mind. SW 5.x.x
Video
Description
Feature-Request
Installation manual
Changelog
Plugin configuration
No Videos here
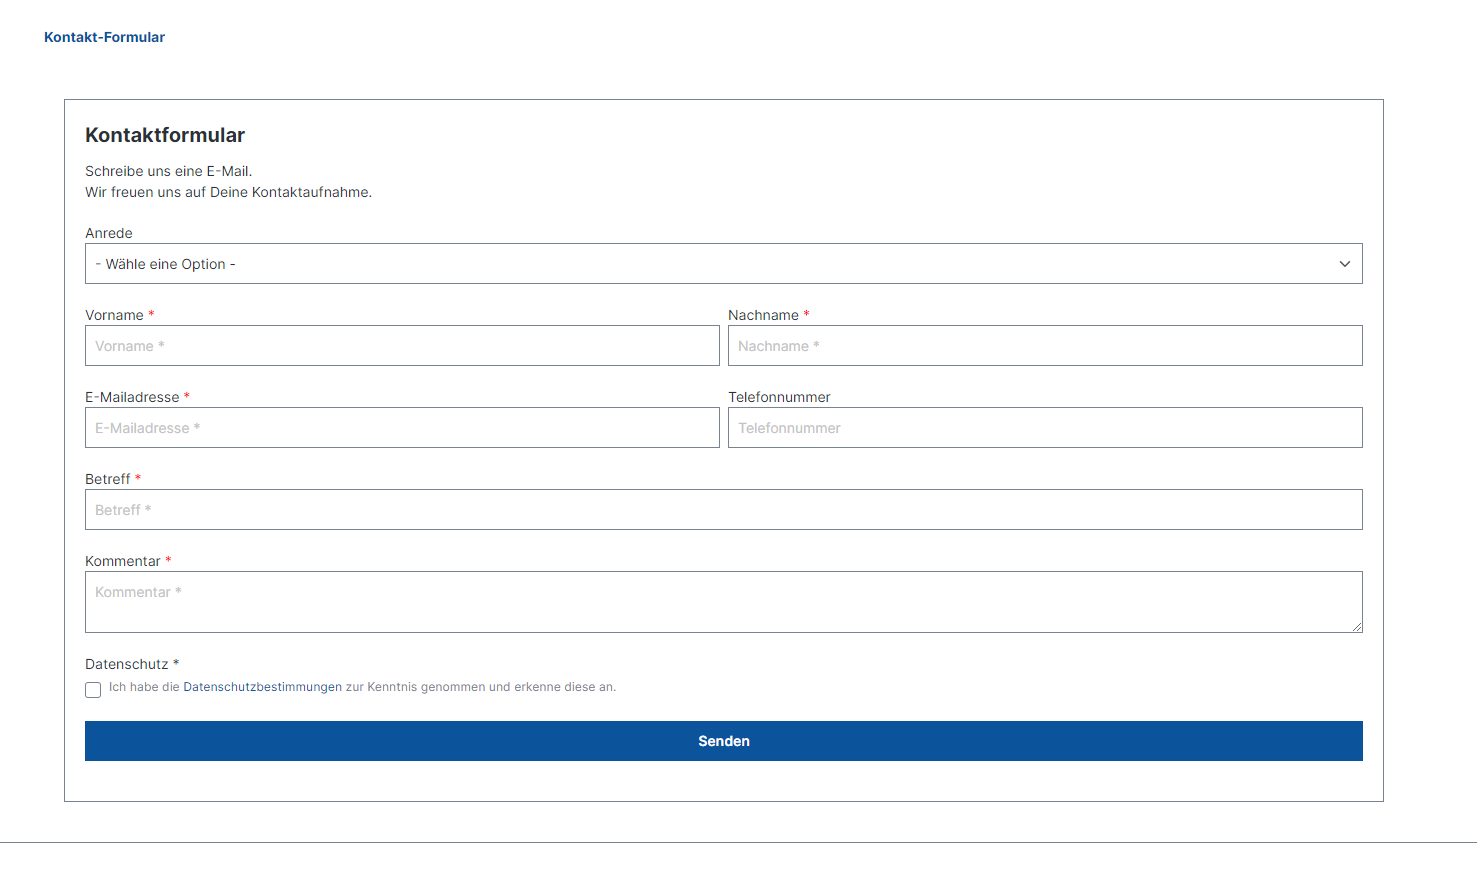
With the extension "Forms" you can create individual forms for your onlineshop. You can create and name the required form fields individually. Different field types are available for the creation of the forms. In addition, you can define a CSS ID and CSS class for the individual fields as well as a pattern and the minimum and maximum length. The created forms can be integrated into existing layouts or new layouts via the shopping experience.
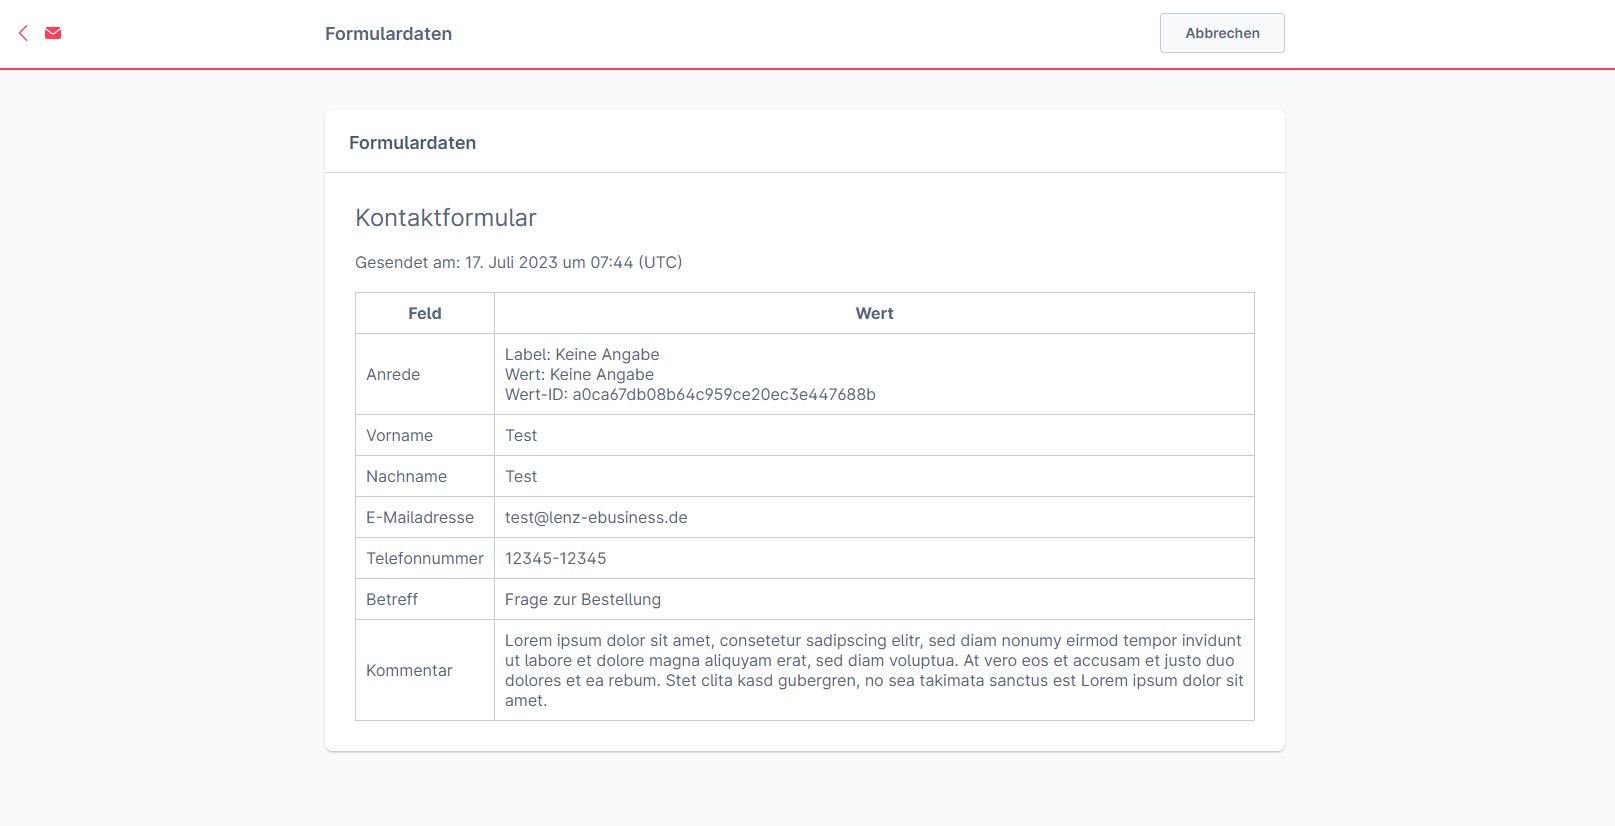
As soon as a customer has filled out and completed a form, an e-mail is sent with the information from the form. This way you get all the information you need immediately.
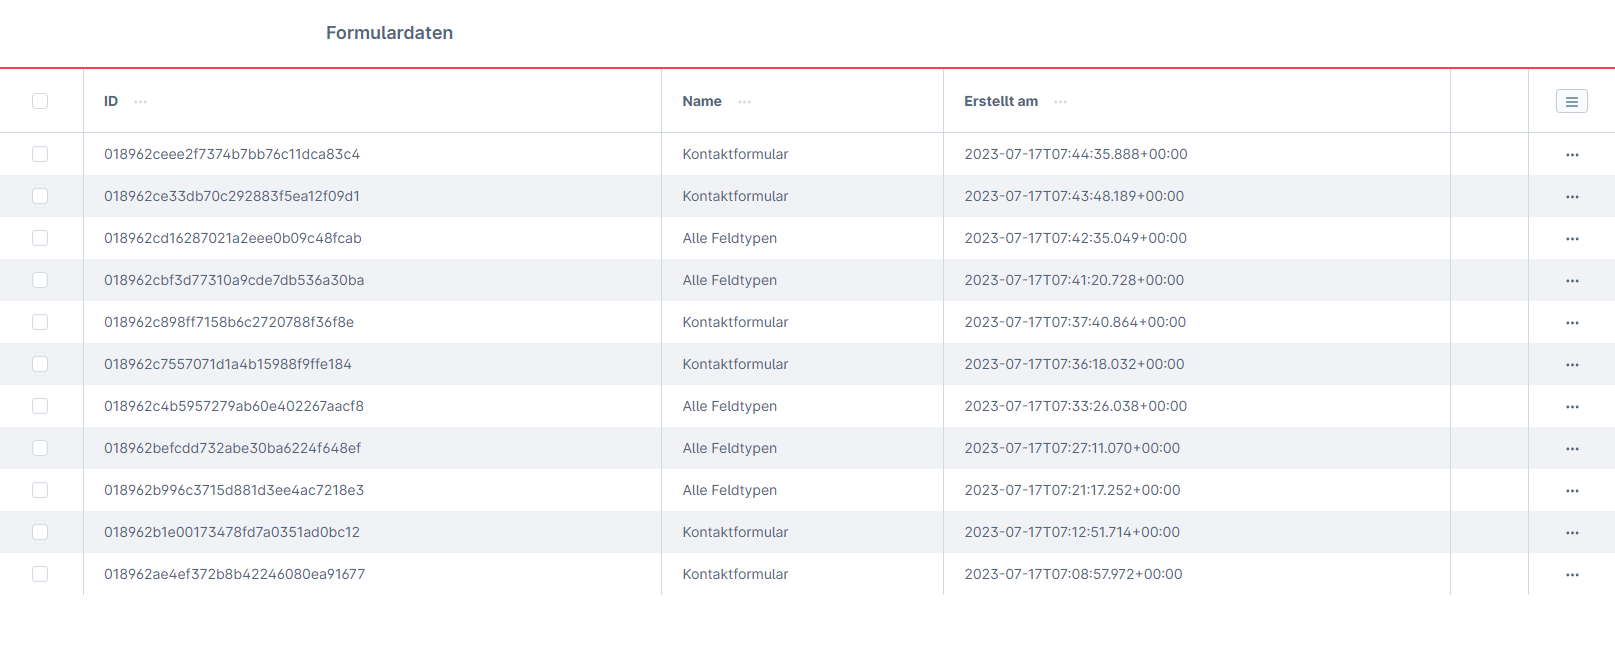
Each submitted form is stored in a database table created by the app.This allows you to read out the saved requests, for example to carry out analysis or to send the data via API from third-party systems for further processing. In addition, the form data can be accessed in the admin area.
- text
- phone
- number
- textarea
- select
- checkbox
- radio
| Compatibility: | min. 6.5.x.x |
|---|---|
| Shopware Version: | Shopware 6 |
| Useable in: | Self-Managed |
- Install and activate the extension.
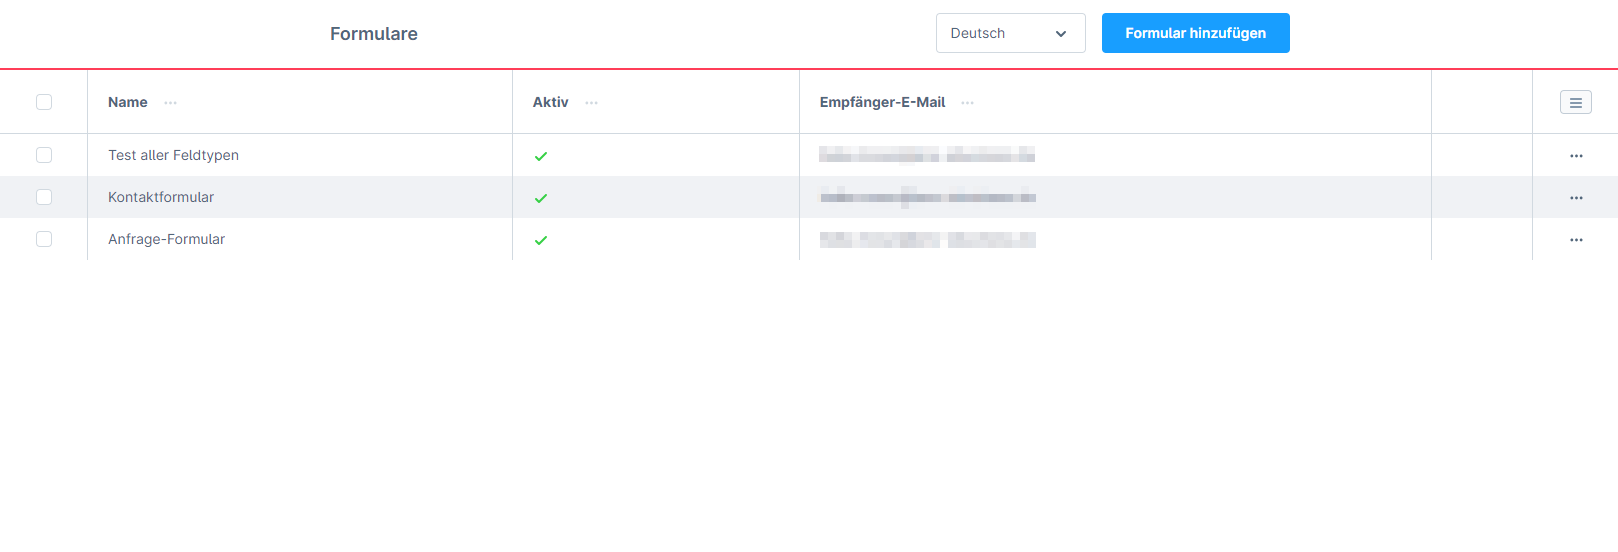
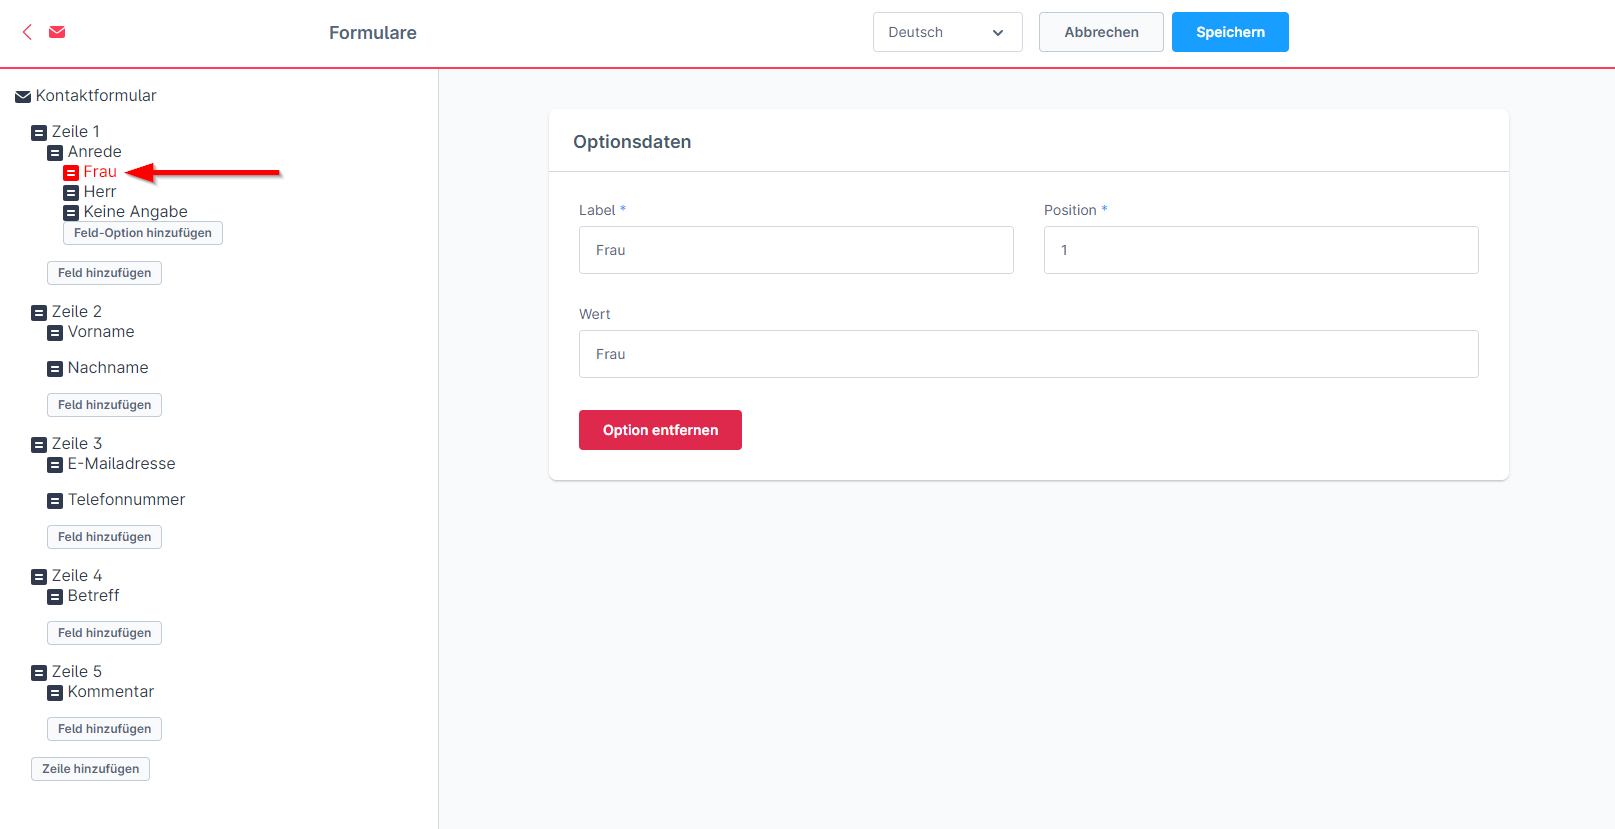
- Go to Content -> Forms and add a new form via the button.
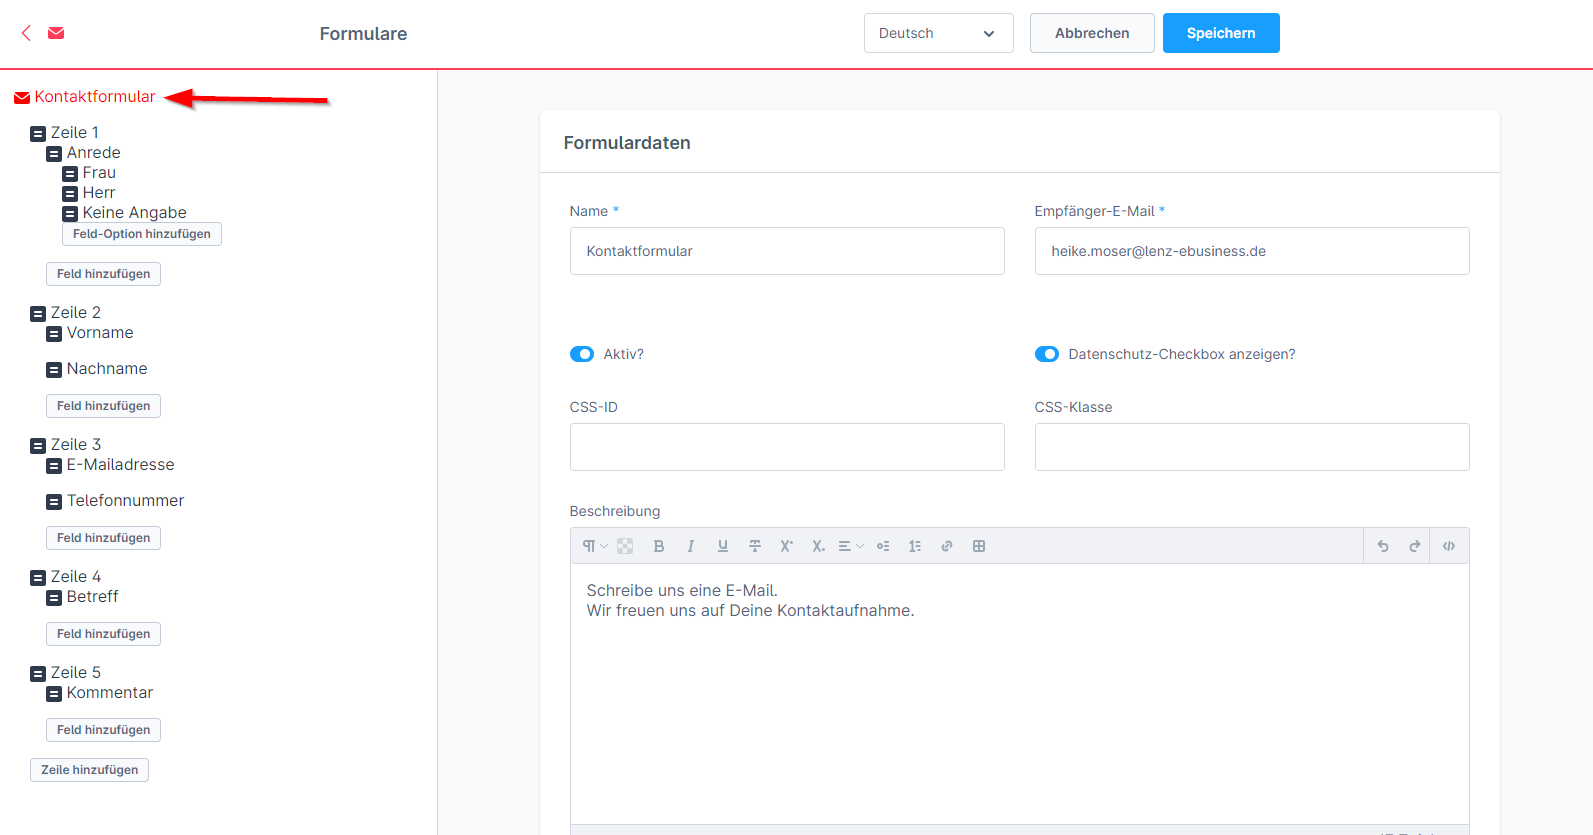
- In the new view, enter the name of the form and the email address to which the information from the form will be sent. You can also activate the form and activate the display of the data protection checkbox. The text under "Description" will be displayed in the shop under the heading of the form. Click on "Save".
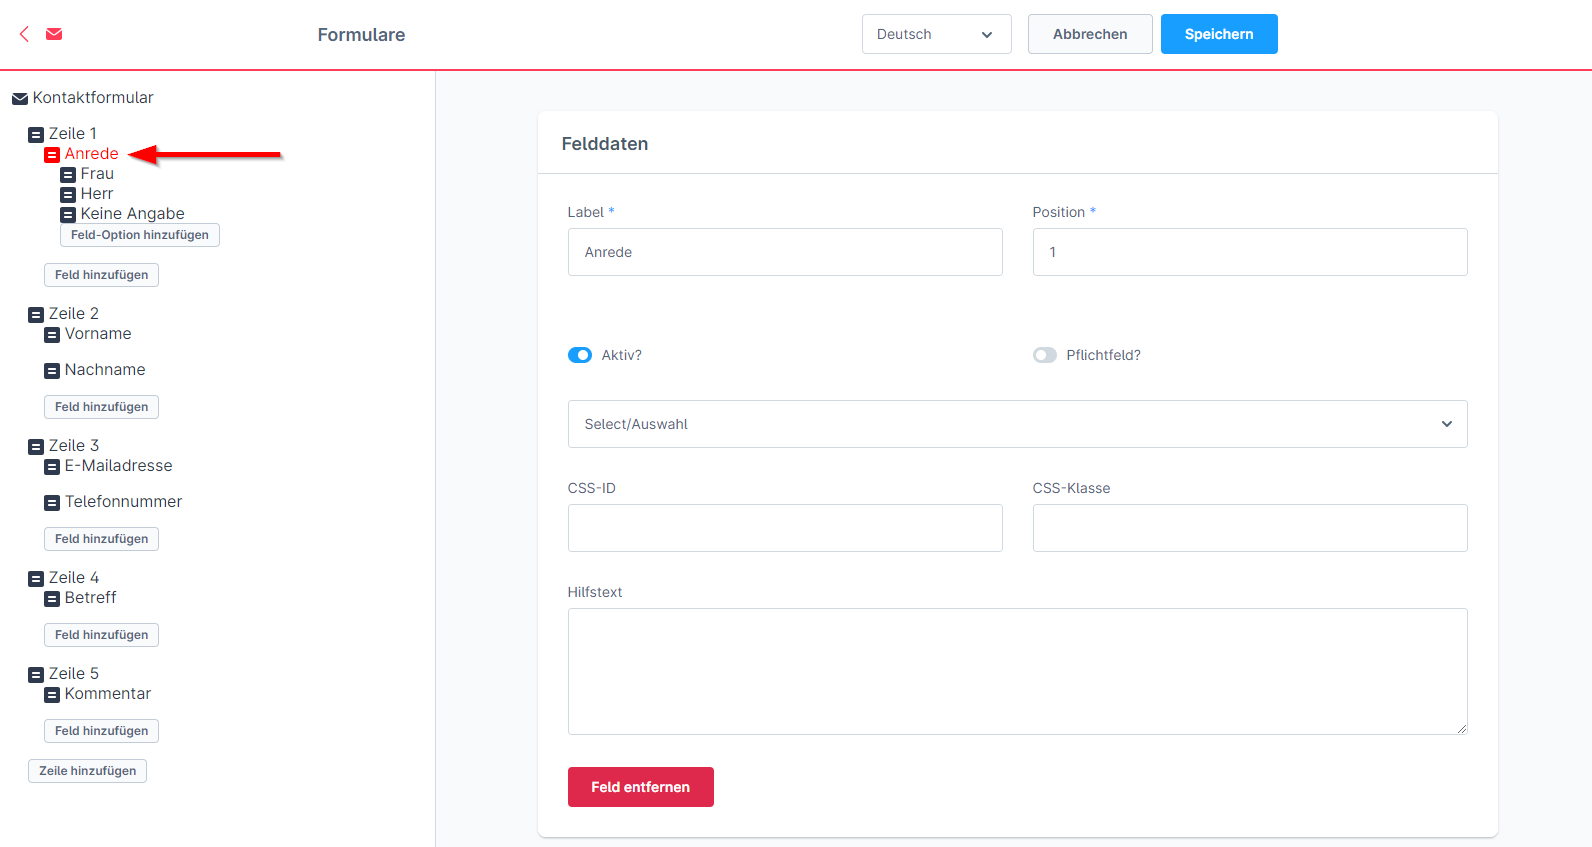
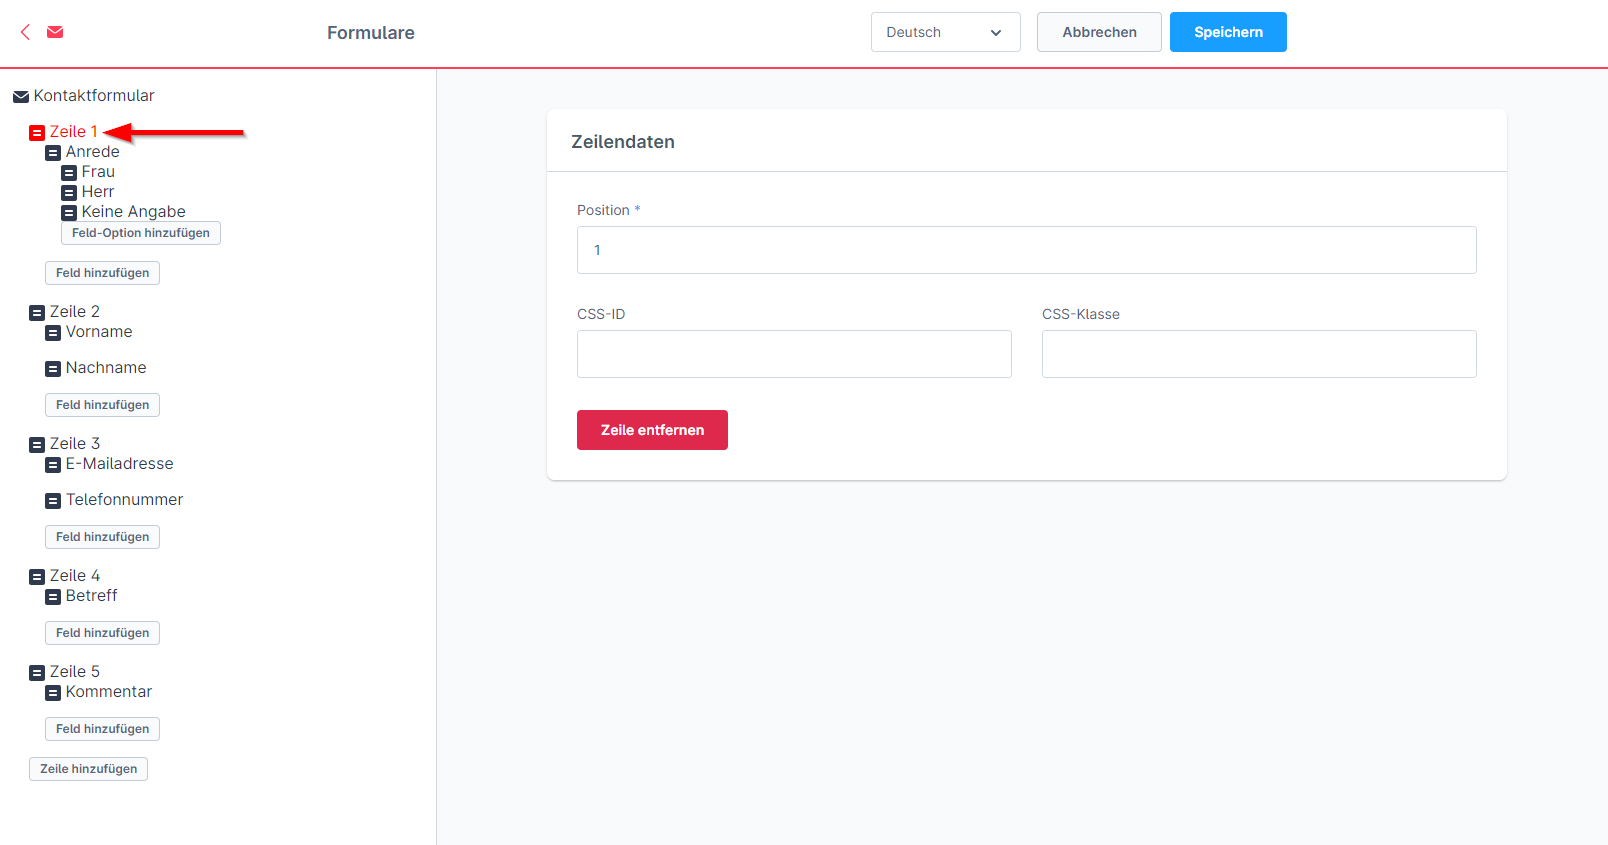
- Now you can create the individual fields. Click on the button "Add line". Now you have created the first line in which you can create the first field by clicking on the button "Add field". Under Label you can now enter the name of the field as well as other settings for your field, e.g. field type, requiered field or a help text. If you want to add another field to this line, click on the button "Add field". Otherwise you can start the next line by clicking on the button "Add line".
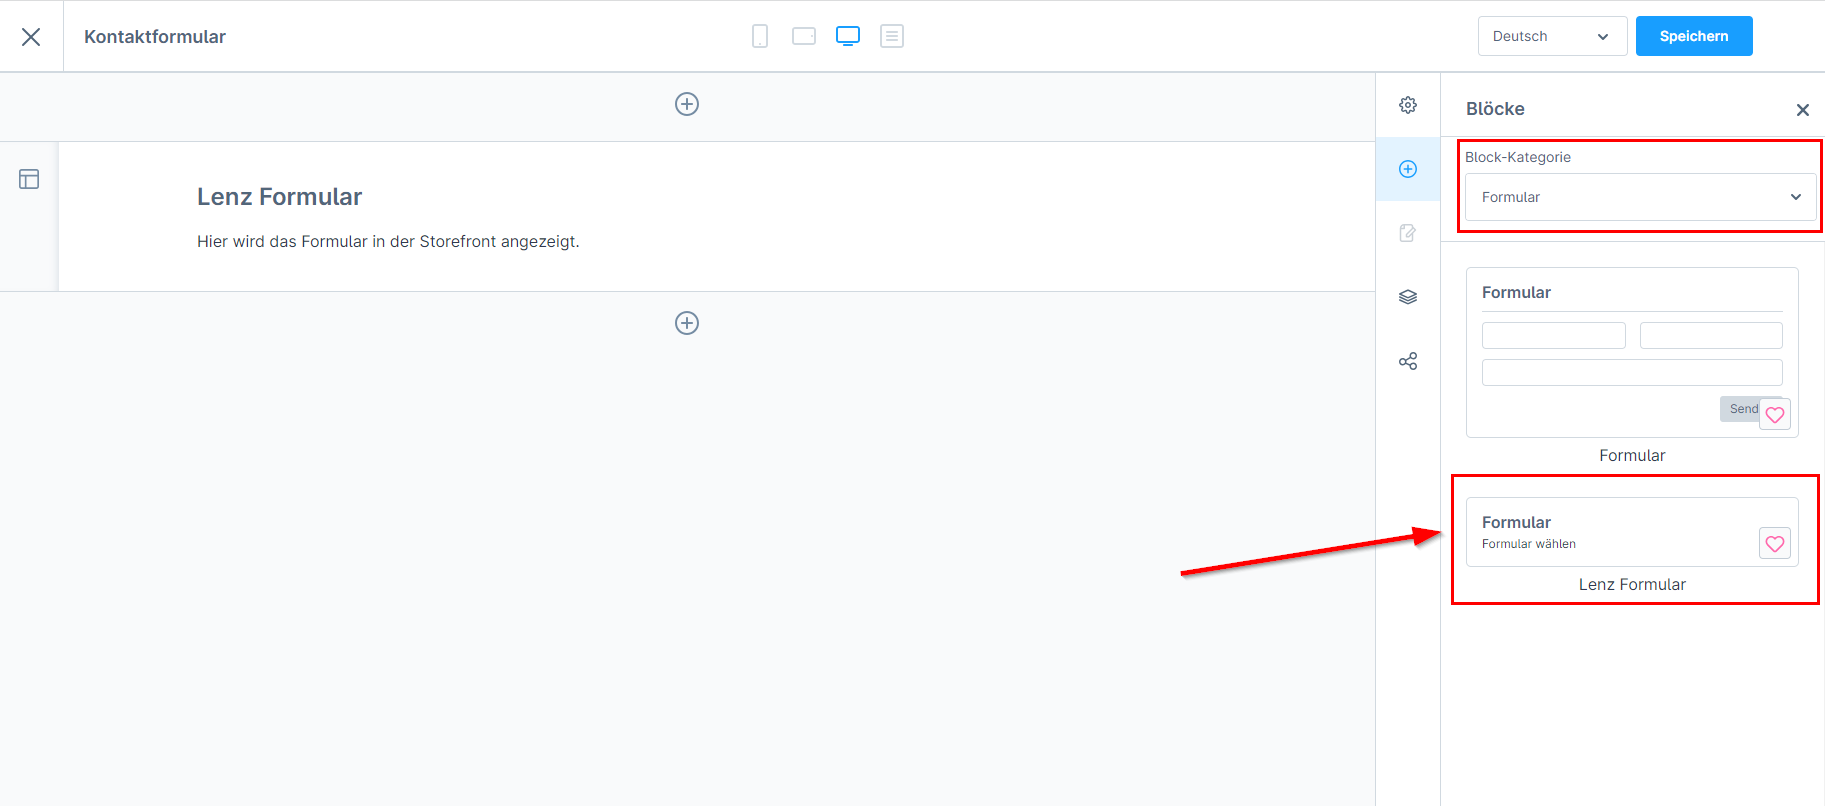
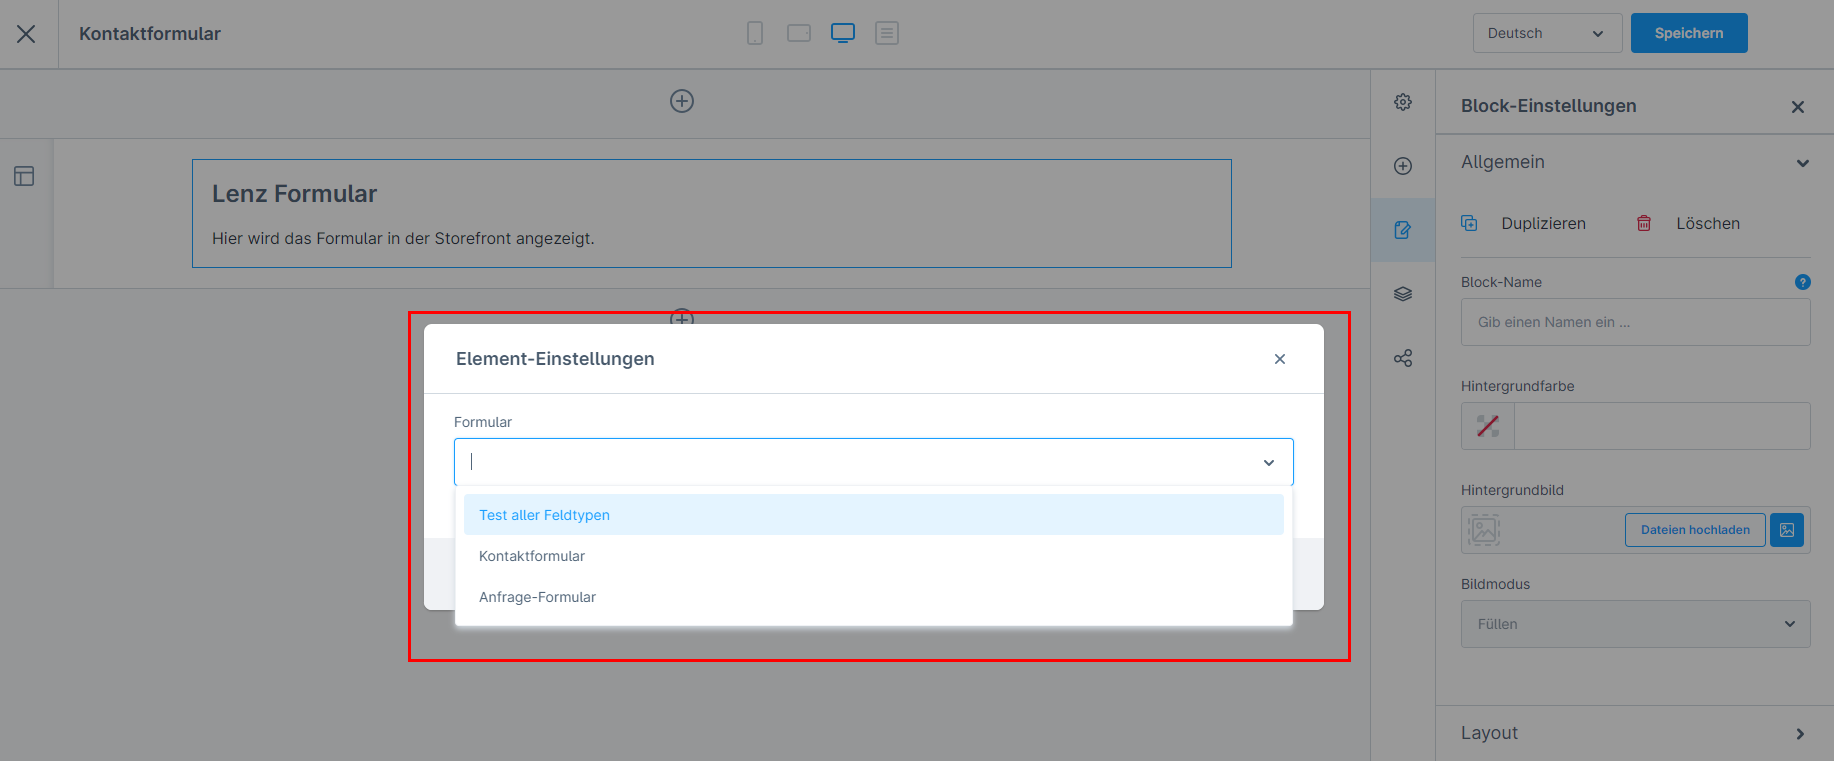
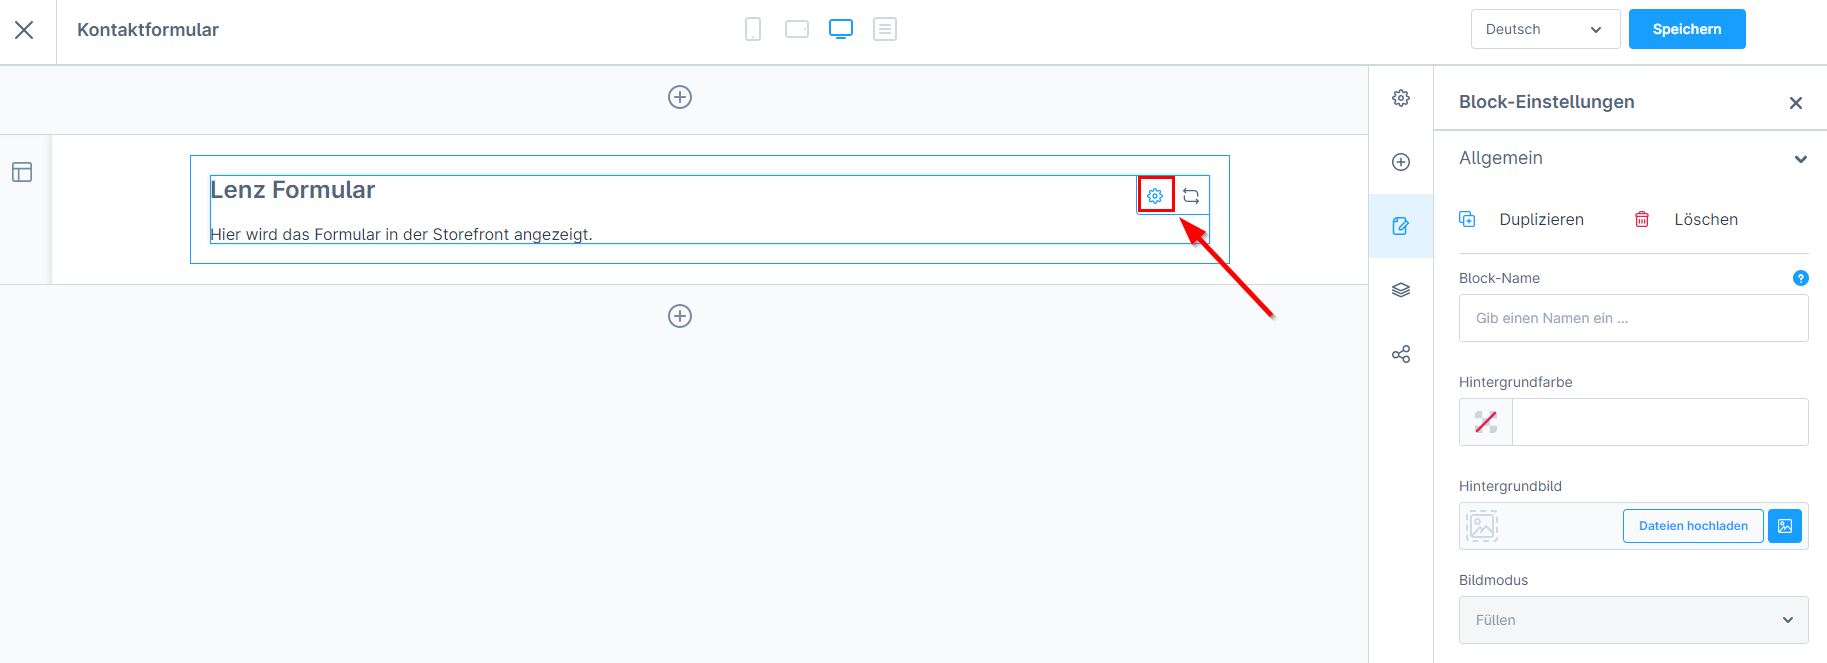
- After you have created all the required fields. You can now assign the form to a CMS page. To do this, open your shopping experience and edit an existing layout or create a new layout. Select the element "Lenz Form" in the block category "Form". Then open the element settings and select the form that is to be inserted here.
- Assign the layout to a category and test the form. After submitting the form, an e-mail will be sent to the address entered.
- The sent data can also be called up under Content -> Form data.
IMPROVEMENT | Improved mail template and mail variables.
Initial release for Shopware 6.

